Work in progressThese docs are still being written and are currently mostly AI-generated. Some details may be inaccurate or incomplete.
Add your first account
Connect a cloud provider so infrawrench can list and manage your resources.
This walkthrough uses DigitalOcean because it has the simplest credential: a single API token. Any plugin follows the same shape — see each plugin page for the exact fields.
1. Get an API token from DigitalOcean
- Sign in to DigitalOcean.
- Go to API → Tokens.
- Click Generate new token. Give it read + write scope.
- Copy the token. You will not see it again.
2. Add the account in infrawrench
- Click Add account in the sidebar.
- Pick DigitalOcean from the provider list.
- Give the account a display name (e.g. “personal”, “work”).
- Paste the API token.
- Click Save.
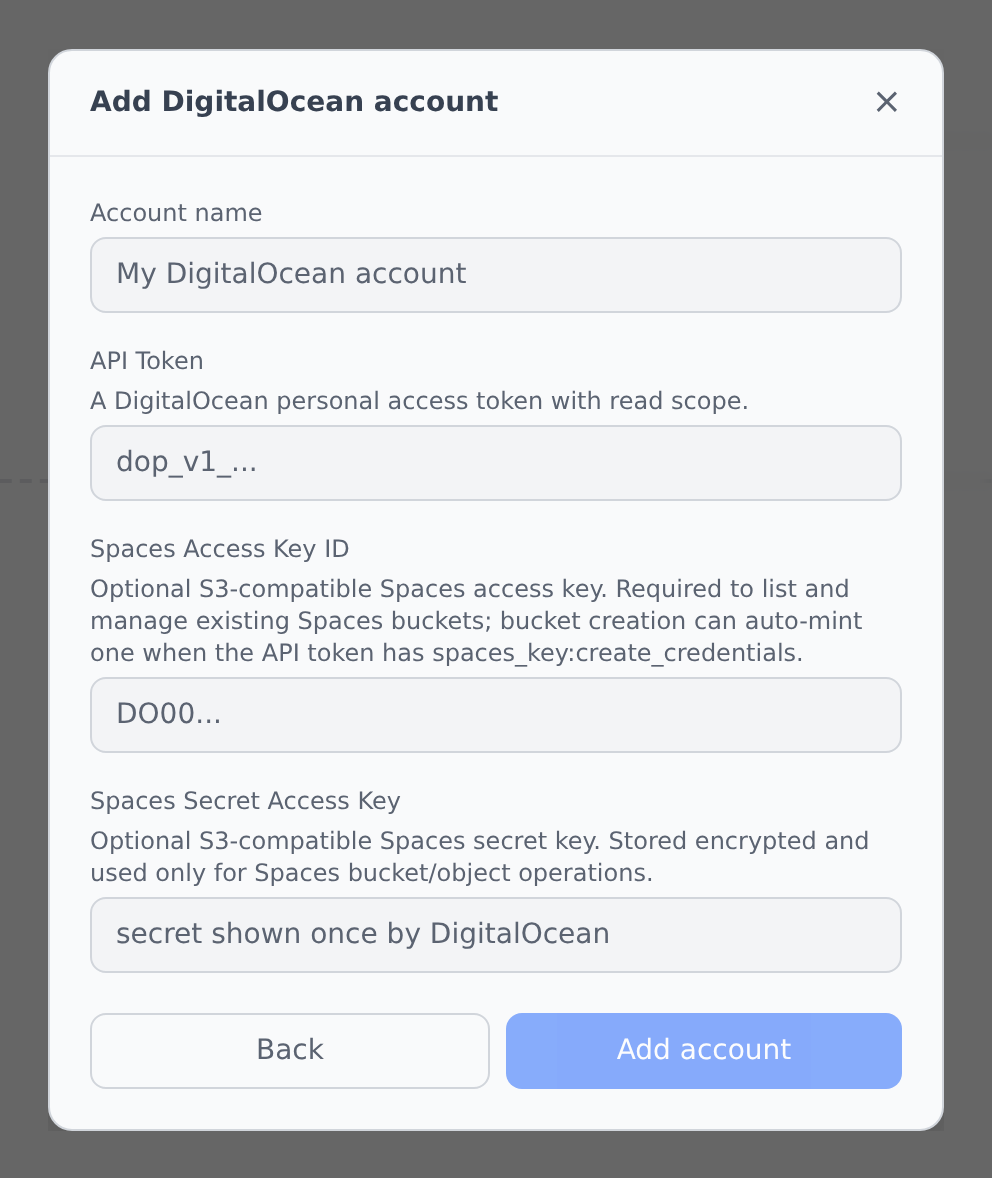
For some providers (AWS, Google Cloud, Cloudflare) the form also offers a Check credentials button that verifies, per capability, what the pasted credential can actually do — and a generator for the exact least-privilege policy to grant. See Credential preflight.
3. Watch your resources appear
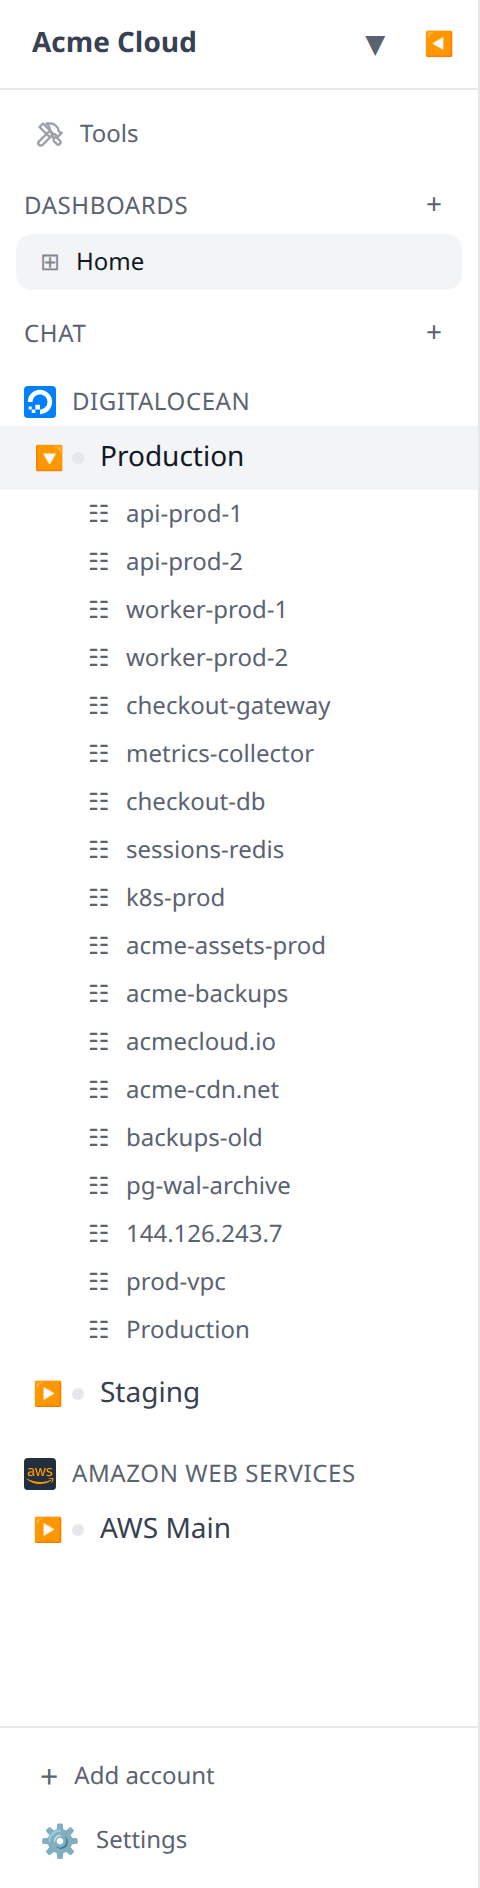
Within a few seconds the sidebar populates with your Droplets, Kubernetes clusters, databases, Spaces, and domains. Click any resource to see its detail page.
What next
- Create a resource — click + on any resource group (e.g. Droplets) to open the creation form.
- Pin favorites to the dashboard — see Dashboard.
- Add another provider — repeat with AWS, Kubernetes, Postgres, etc. See Plugins.
- Learn the mental model — Resources and accounts explains how the sidebar is organized.